Roblox Avatar
Hey, Gamers! This is past doubt that Roblox Studio is the maximum influential platform that helps you to play on line video games. Unlike different gaming platforms, Roblox Studio is pretty special and unique. This platform helps you to create your very own video games. All the Roblox video games aren’t advanced via way of means of Professionals however create via way of means of their users. Roblox Studio helps you to create your Roblox Avatar, import participant, upload matters into the studio, Create landscapes, and upload a version of your self at the Roblox Studio.
In this step-via way of means of-step guide, allow us to find these types of queries one via way of means of one. By the stop of the post, you’ll get to study How to position Roblox Avatar in Roblox Studio. So with out in addition ado,
let’s get started:
Get Started with Roblox Studio
In order to create a sport or in-sport gadgets, You first want to go into the Roblox Studio. For this, you first require to Download and set up Roblox Studio.
How to Import a participant into Roblox Studio?
On Roblox, there are numerous avatars to be had which can be created via way of means of different users. Roblox gives many alternatives whilst uploading any Avatar. Users need to choose what form of characters they need to import- Usual or skinned meshes. Skinny meshes like Maya or blender appearance greater practical characters however took quite a few time to installation in programming. The subsequent step is the Model setup.
Model Setup and Convention
The limbs of any individual have separate pieces. Every rig has its call, hierarchy, and sample for joint placement. Before exporting a individual, you want to make modifications to the default settings withinside the Export FBX panel. While putting in any individual, Certain stuff you ought to hold to your mind:
Mesh translate values ought to be set to (0,0,0)
The joint scale cost ought to be (1,1,1)
All the devices ought to be in centimeters.
Arms ought to be straight.
Mesh translate cost ought to be (0,0,0)
Importing to Roblox Studio
Open any base palette.
Click play.
Now visit the workspace.
Under the workspace, discover your call.
Then replica the whole thing this is stated below your call.
Click the Stop icon then proper-click on to the workspace.
Then faucet on “Paste into”. That’s it!
Alternatively, You also can import avatar via way of means of the usage of Plugins
In the Roblox Studio, Go to the Plugins tab.
Install Avatar Importer plugin.
Once it receives installed, faucet on it.
Four alternatives will display- Rthro, Rthro Narrow, R15, and Custom.
Click Rithro and read the downloaded file.
Also read: How to Cancel Roblox Membership (Step via way of means of Step Guide)
How do you exchange your Roblox avatar on Roblox studio?
Make modifications to your Avatar is actually fun. Changes may be made in Avatar in Avatar’s Editor window easily:
To alternate the pores and skin shadeation of your Avatar
Follow those easy steps to alternate your Avatar’s pores and skin shadeation:
First, Go to the Avatar’s segment at the left of the web page
Now, Move your cursor to the frame pull-down menu and pick out the pores and skin tone which you need.
If you need all of the frame components of various colors, click on on Advanced on the decrease proper corner.
Now faucet now no longer the special frame components and choose the shadeation.
Users could make paintings at the appears in their Avatar. Looks count number for all. To make your Avatar exceptional fashionable and cool, you could upload or put off gadgets for your Avatar. For Instance: Make your Avatar put on unfashionable appearance sunglasses. This most effective small alternate will provide your Avatar a special appearance. To do this, observe steps:
Firstly, Go to the Editor’s web page and pull a drop-down menu.
There you’ll discover special classes like Clothes, Skin, Hair, add-ons, etc.
Select the class and pick out the object which you need.
First, choose the outfit in your Avatar. For this Go to the outfit class shiny coloured pants and t-blouse and what else you need to pick out.
Next, choose the add-ons along with a hat, belt, or sunglasses.
You Can pick out multiple object at a time however there may be a restrict too.
Note: To choose gadgets greater than a restrict, click on at the Advanced button and upload an asset ID. This will let you upload 10 gadgets.
All the chosen gadgets may be highlighted in Green.
That’s it! These few modifications will absolutely remodel your Avatar’s appearance.
How do you upload a version to your self on Roblox studio?
Every Gamer desires to make a version of himself. But don’t realize how? Don’t worry, those clean steps will let you upload a version to your self. let’s get started:
First of all, log in for your Roblox account after which visit the developers’ web page.
Click on Places and faucet to “Edit”.
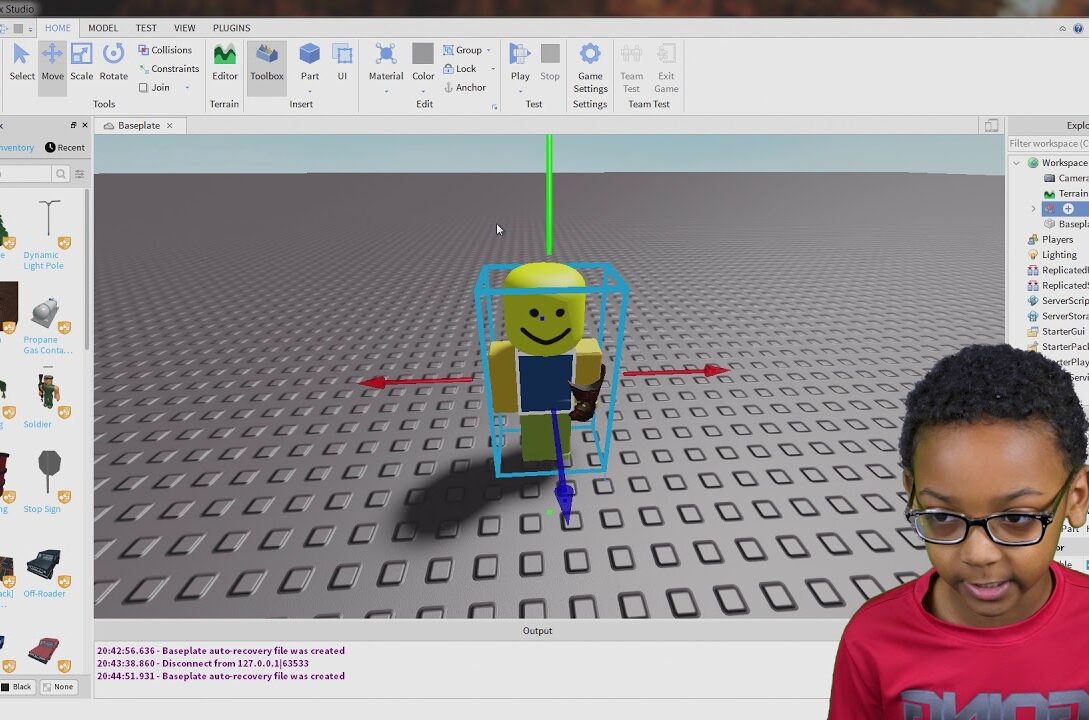
Roblox Avatar
Now, faucet at the Test icon positioned on the pinnacle of the web page. Or you could genuinely click on the F6 characteristic key.
Click Play
In the Explorer bar, Under Workspace discover your call.
Right-click on at the username and choose Children.
Roblox Avatar
Again proper-click on on the chosen gadgets and pick out “Group”
After clicking the group, You will capable of see “Model”
Right-click on at the Model and choose “Rename”
Give it any call which you need. It’s executed.
Now, for you to post it, Right-click on at the Model and choose Save to Roblox.
A new window will open, faucet on “Create New”
Add the call of the version and description. After that, faucet on Finish
To test if it’s miles executed or now no longer? Exit the Studio and once more pass returned to the developer’s web page. Go to Models. You will discover the version on the pinnacle of the listing which you have created.
How do you upload matters to Roblox studio?
Things may be delivered to Roblox Studio via way of means of following those 5 easy steps:
Open the Roblox studio and Click at the Explorer.
Under Explorer, faucet on Part
Under Part, you’ll get 4 special alternatives: Block, Wedge, sphere, and Cylinder.
Choose anyone shape. For Instance: block. It will begin acting at the screen.
Make modifications in its look via way of means of scaling its size, shadeation and rename it. You’re executed!
Final Words
Well, that is all approximately Roblox Studio. We attempted to cowl many queries associated with Roblox in a unmarried post. I wish You will discover it very useful and informative. Do remark beneathneath in case you need to realize greater approximately Roblox Studio. In case of any query, experience unfastened to ask. Keep sharing.
Thanks for reading!


")


